
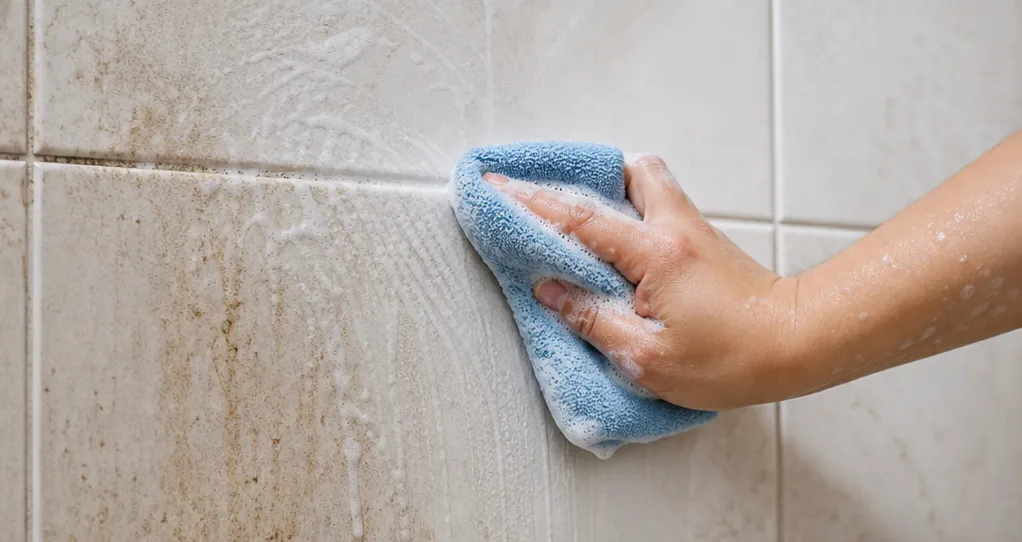
Shower walls take a direct hit every day, soap, shampoo runoff, and hard water splashback, while tiles higher up near the ceiling deal with steam that never really escapes the room. Over time, this shows up as a dull, filmy surface and grout lines that slowly darken with mold in corners that rarely get wiped.
The good news is wall tiles clean up faster than most people expect, since daily water exposure already loosens a lot of residue for you. This guide covers a routine wash for regular buildup, a deeper method for moldy grout, and a safe option for natural stone.
If your wall tiles are natural stone, like marble or travertine, skip straight to Method 3. Vinegar’s acidity can etch and dull natural stone permanently.
This post contains affiliate links. If you buy through these links, I may earn a commission at no extra cost to you.
At a Glance: Which Method Do You Need?
- Regular soap scum or water spots on the tile? A vinegar and dish soap wash handles it. Head to Method 1.
- Dark, moldy, or stained grout between wall tiles? A baking soda and hydrogen peroxide scrub works through it. Head to Method 2.
- Natural stone wall tile? A pH-neutral, stone-safe cleaner keeps it safe. Head to Method 3.
Not sure which one you need? Start with Method 1, unless you have natural stone, in which case Method 3 is where to start.
Method 1: Vinegar and Dish Soap Wash (For Regular Wall Tile Buildup)
This is the routine wash for keeping wall tiles looking clean between deeper cleans. It cuts through soap scum and hard water film without needing any scrubbing tools for most areas.
What You’ll Need
- White vinegar
- Warm water
- Dish soap
- A spray bottle
- A soft cloth or non-scratch sponge
- A squeegee or towel for drying
If you don’t have a good squeegee yet, this squeegee in the shower is a real lifesaver for keeping the glass spotless between deep cleans.
How to do it:
Step One: Mix equal parts white vinegar and warm water in a spray bottle, then add a small squeeze of dish soap and shake gently.
Step Two: Spray the solution over the tiles, working from the top of the wall down so runoff cleans the lower sections as it drips.
Step Three: Let it sit for 5 minutes, this gives the vinegar time to cut through soap residue and mineral spots.
Step Four: Wipe down with a soft cloth or non-scratch sponge, going over any spots that still feel filmy, especially around faucet handles and the showerhead.
Step Five: Rinse the tiles with plain water, again working top to bottom.
Step Six: Dry with a squeegee or towel. Drying the tiles cuts down on new water spots forming and slows how fast grime builds back up.
Method 2: Baking Soda and Hydrogen Peroxide Scrub (For Moldy or Stained Grout)
Use this when the grout between wall tiles has turned dark, especially in upper corners or along the ceiling line where humidity lingers longest. Hydrogen peroxide doesn’t just cover up mold, it breaks it down at the source, which matters more here than on the floor since wall grout stays damp longer after every shower.
What You’ll Need
- Baking soda
- Hydrogen peroxide
- A stiff-bristle grout brush or old toothbrush
- A microfiber cloth
- Rubber gloves
If your sponge can’t reach narrow grout lines, this stiff-bristle grout brush here is great for getting right into those tight corners.
How to do it:
Step One: Mix baking soda with hydrogen peroxide instead of water to form a thick paste, this combination is more effective on mold and staining than baking soda and water alone.
Step Two: Apply the paste directly onto the grout lines, covering the darkest or moldiest sections generously, paying close attention to upper corners and the grout line closest to the ceiling.
Step Three: Let it sit for 15 minutes. For heavily stained or moldy grout, it can sit for up to an hour.
Step Four: Scrub the grout lines with a stiff-bristle brush or old toothbrush, working in small sections from top to bottom.
Step Five: Rinse thoroughly with clean water, then wipe the entire area dry with a microfiber cloth.
Method 3: pH-Neutral Stone Cleaner (Safe for Natural Stone Wall Tile)
Natural stone like marble, travertine, and limestone reacts badly to anything acidic, vinegar and lemon can etch the surface or dull its finish permanently, and that kind of damage isn’t reversible with cleaning. A pH-neutral cleaner made specifically for stone cuts through soap scum and water spots without that risk.
What You’ll Need
- A pH-neutral, stone-safe cleaner
- Warm water
- A soft cloth or microfiber cloth
- A dry towel
This pH-neutral stone cleaner is formulated specifically to avoid etching, worth keeping on hand if your bathroom wall tile is natural stone.
How to do it:
Step One: Dilute the stone-safe cleaner in warm water, following the product’s instructions for ratio, most are fairly concentrated.
Step Two: Spray or wipe the solution onto the tiles, working from the top of the wall down.
Step Three: Let it sit for a few minutes, following the product’s recommended contact time.
Step Four: Wipe down with a soft cloth, paying extra attention to areas around the shower-head and faucet handles where buildup tends to concentrate.
Step Five: Rinse with plain water, again working top to bottom.
Step Six: Dry thoroughly with a towel. Stone left to air-dry is more prone to water spots than sealed tile.
Cleaning the walls is only half the job, if your bathroom floor tiles need attention too, this guide covers grout, toilet base buildup, and natural stone floors.
A Quick Habit That Helps a Lot
Running the exhaust fan for 15 to 20 minutes after every shower, or giving the walls a quick squeegee before you step out, keeps moisture from sitting on wall tiles long enough to turn into mold. Most grout discoloration on walls starts near the ceiling first, simply because that area gets the least airflow and the fewest wipe downs.
Whichever method you use, the pattern stays the same, apply, let it work, then rinse and dry. Stay on top of ventilation and quick wipe downs, especially in those higher, easy to forget corners, and you’ll rarely deal with heavy grout staining at all.